Drywall, being prone to water damage, necessitates prompt repair to prevent further deterioration. Now, let’s explore how to repair water damaged drywall.
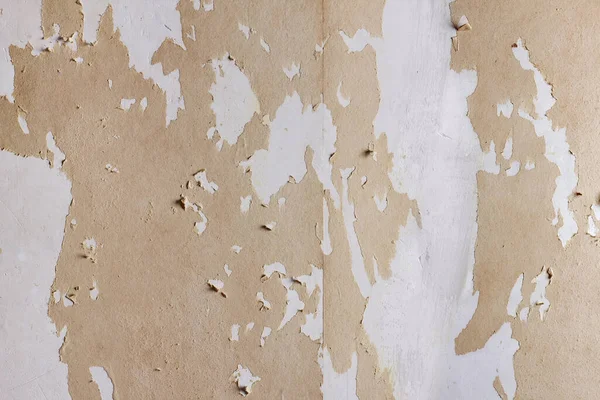
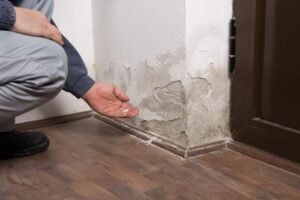
Drywall is porous and prolonged exposure to water can cause it to lose its structural integrity. Signs of water damaged include discolored water stains, bubbling and sagging you might also notice a musty odor.
1. Drying Out the Affected Area
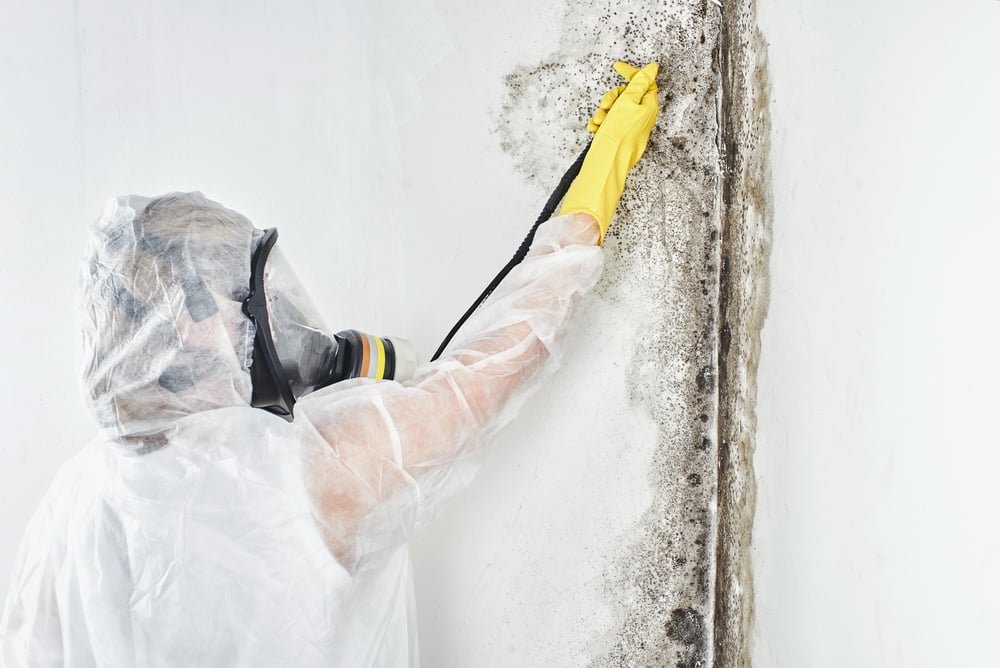
Regardless of the cause of damaged drywall, it is important to dry the affected area thoroughly before proceeding with any repairs. Moisture left behind on drywall can lead to structural issues and mold growth. For this reason, it is critical to identify and locate the source of moisture buildup if possible.
This can be done by assessing the structure, attic spaces and roof to determine the point of ingress by removing porous materials such as carpet, fabric, and wall hangings this promotes air flow and helps the drying process.
It is also a good idea to have a moisture meter available to monitor the level of humidity and moisture in the air. A moisture meter can help gauge the extent of the water damage and indicate whether or not the drywall should be replaced.
This step is especially important for significant or advanced water damage or if there are signs of mold growth it is a good idea to open windows and use fans to help improve airflow and minimize the spread of dust, fumes and odors.
2. Repairing Small Holes and Cracks
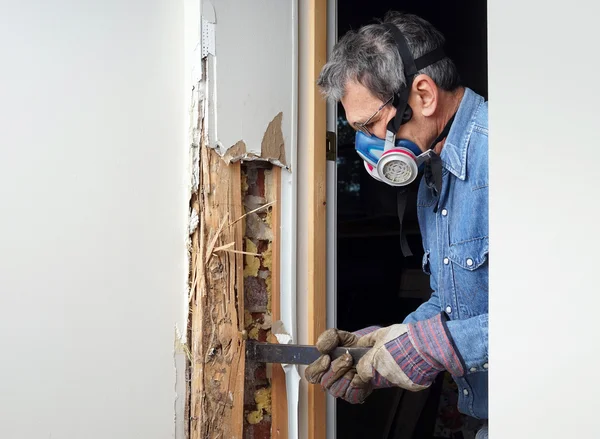
Using a keyhole saw, cut out the damaged section of the drywall. If possible, try to keep the drywall in one piece, as this will make it easier to manage and match up with a new patch. Otherwise, remove the drywall in small pieces with the claw end of a hammer. Be sure to also remove any porous materials that have been soaked in water, as they may shrink or mildew.
For smaller holes, you can use a California patch to repair them. First, measure the hole with a tape measure and pencil, then cut a piece of drywall to fit. Make sure to leave a little room around the perimeter, so you can mud it in place.
For larger cracks, you’ll need to score the drywall with a utility knife and widen the crack slightly. Once the area has been cleaned, apply a thin layer of joint compound to fill in the crack. Then, press a piece of mesh drywall tape over the compound and use a putty knife to smooth it out. Finally, feather the edges to help the repair blend in with the surrounding wall.
3. Replacing Damaged Sections of Drywall
If a large section of your drywall is severely damaged, it may be best to replace it altogether this can be very costly but it is a good idea to do this in order to prevent future water damage and potentially expensive repairs down the road.
If possible, start by removing just a small stretch of the drywall that is affected by water damage. This will allow you to identify the source of the leak more easily. This could be a simple as cutting a hole to find a leaking pipe or it could mean cutting through the wall to get to the attic where a faulty AC unit, washing machine, dishwasher, or other appliance may be the cause of the problem.
Once the damaged section of drywall is removed, it’s important to dry out the area before starting any repairing water damaged drywall. This is essential to preventing mold growth and other potential problems. Make sure to use a fan and open windows to improve ventilation and minimize dust, fumes and odors. Also, remember to always wear gloves and a face mask when handling drywall and other materials that can be harmful to your health.
4. Applying Joint Compound and Sanding the Repaired Area
After letting the compound dry, go over it with sandpaper to eliminate any raised areas and make the transition from old drywall to the new drywall compound seamless. This step is especially important if you’re working on a large area that has been affected by water damaged drywall.
If necessary, you can also use a high-quality primer designed for drywall and bathrooms to help protect against future moisture problems and ensure good paint adhesion. When applying the primer follow the manufacturer’s instructions regarding application and drying times.
To prepare for repairing your damaged drywall, you’ll need to purchase a few items from the hardware store, including contractor-sized buckets of lightweight joint compound, taping knives in various sizes, and a mud pan.
To replace severely damaged sections of drywall, start by measuring the size of the hole then cut a replacement piece of drywall two inches longer and wider than the original section. When attaching the new piece of drywall be sure to screw it into the studs and framing.
5. Priming and Painting the Repaired Drywall
There is a good chance that water damage will occur at some point in the life of every homeowner this is because plumbing leaks are so common in homes and because roofs, walls and the foundation of homes can fail from a variety of causes. When these issues occur, water can seep into the home and cause serious damage to drywall.
The first step in repairing drywall is to determine the source of the problem. Once this is done, the damaged drywall can be repaired or replaced. If the drywall is severely damaged, it may need to be replaced.
After the drywall is repaired or replaced, it is important to make sure that the area is completely dry this can be done by draining any remaining water from the area and by pointing an area fan at the wall and plugging in a dehumidifier.
It can take several days for wet drywall to dry thoroughly. Once the drywall is dry, it can be primed and painted this will help to prevent future drywall damage from water.
6. Preventing Future Water Damage to Drywall
It is crucial to address water damage as soon as possible, as it can lead to serious problems with the structural integrity of your walls. It also provides a breeding ground for toxic mold. Prevention is key, and simple steps like ensuring proper ventilation and moisture control can go a long way in protecting your walls against future damage.
If you notice that your drywall is starting to bubble, crack, or peel, this is a sign of water damaged drywall. Water damage can be caused by a variety of things, including leaks, condensation, and flooding. It is important to identify and fixing water damaged drywall as quickly as possible to prevent further damage and costly repairs.
Drying out the affected area is also critical, and can be accomplished by pointing an area fan at the wall and running a dehumidifier in the room. You should also replace any severely damaged sections of drywall, as they will not be able to withstand further damage and may become a breeding ground for mold.
